Everybody has them…
Dress shoes we own & love…
but never POLISH (or not often enough).
They continue to get dirty…
and the grime and scuffs can ruin your look…
or damage the shoes.
So you need to maintain them.
But… there's always a lack of time.
If only it just took a minute…
to get them looking great again.
Well… there is a way! Keep on reading to find out.

Trust me, I get it. You don’t always have the time to do a full spit shine. The days come faster, your mornings get busier and all of a sudden – snap! You realize you almost left the house with awful-looking shoes. What’s your best course of action?
I say it wouldn’t hurt to spare a single minute for some quick and easy shining. Think about it – there are 1,440 minutes in a whole day! So I’m sure you can find a way to squeeze in this short but EFFECTIVE polish.
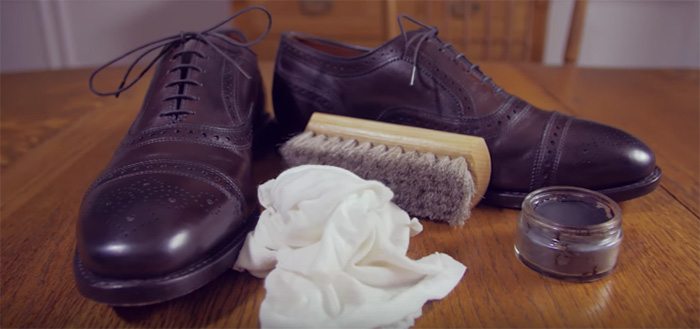
Quick Shoe Shine Tools You Will Need
- Wax Shoe Polish: make sure it matches the shoe color (and take note that bee’s wax with turpentine polish would give off the best luster)
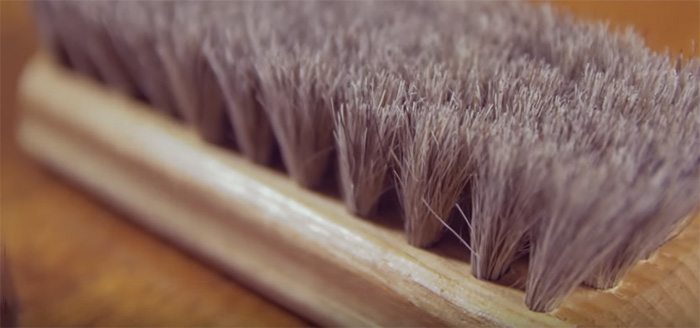
- Horsehair Brush: check if it has a sturdy wooden handle and natural heather-brown bristles.
- Polishing cloth: you can use anything from a soft rag to an old white shirt
- Toothpicks: these are more useful for brogue shoes
- Shoe trees
- Newspaper or additional cloth
- Carrying box or container: this one is optional and a personal choice, but it helps you keep all materials together and organized
Quick Shoe Shine Step #1 – Set Up The Work Area
First take your shoes and tools to your designated work area. It’s important that it’s well-lit and free from clutter – AWAY from any valuables. Cover up the surface with newspaper sheets or cloth before you get started.
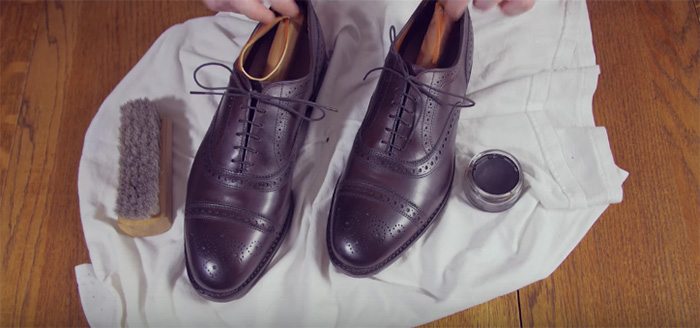
Note: Do NOT use carpeted space as a shoe shine area. This puts your carpet or rug at risk of being soiled by wax, if there’s a spill or if the brush touches the floor.
Quick Shoe Shine Step #2 – Insert Shoe Trees
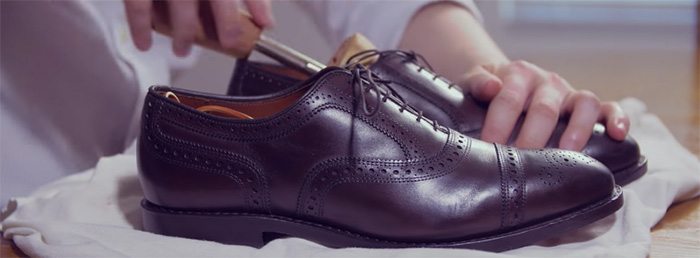
Put a shoe tree inside each shoe so it can maintain its shape throughout the process. Although these things are preferable, you can try padding up the shoes with rolls of newspaper instead if you don’t have shoe trees.

Quick Shoe Shine Step #3 – Brush Off The Dirt
Use the horsehair brush to briefly brush through both shoes. The objective here is to get rid of all grime, dirt, salt or residue of old polish.
This ensures that the new polish affects every slight imperfection since the last time the shoes were shined. It’s not supposed to be tedious – but you want to make every stroke count.
Also remember to move to another spot on your work area after this. You don’t want to risk having those same scraps of dirt return to your shoes at the end – and waste that precious minute and all of that effort.
Quick Shoe Shine Step #4 – Start Polishing
Get your polishing cloth and wrap it tightly around the middle and index fingers of your dominant hand. These fingers are now the “paint brush” for this shoe shining activity.
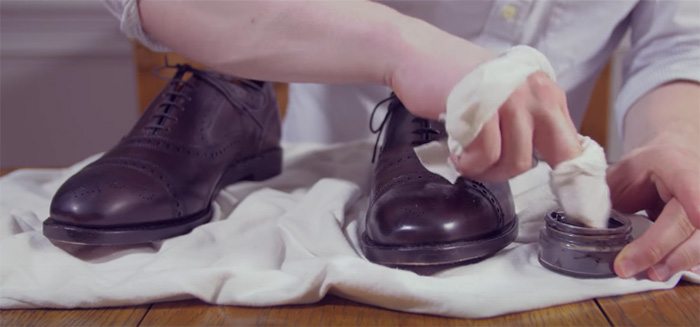
Rub the cloth lightly in the wax while maintaining the grip of your two fingers. For the actual polishing – the right technique is to work around the shoes in small, circular motions. Be careful not to miss any corners or spots.
The goal is to completely fill in the pores of the leather surfaces. Don’t apply any amount of polish to the rubber sections or the heels. Those aren’t meant to be cleaned with wax.
Once you have finished with the first shoe, allow it to sit and let the polish dry for more or less 15 minutes while moving on to the other shoe.
Quick Shoe Shine Step #5 – Buff The Shoes
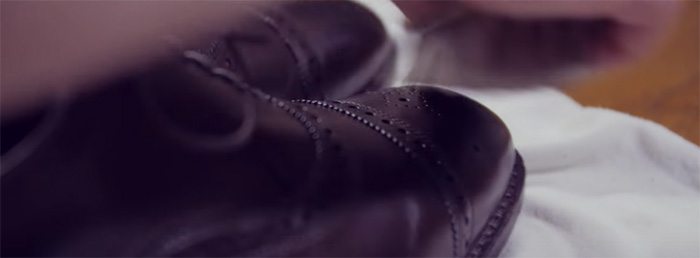
After letting the polish dry on both shoes, take your horsehair brush again for the buffing stage. Start with immediate, light-pressure strokes to remove the polish. Do the same for the other shoe. Eventually the brand new shine will come out.
Quick Shine Step #6 – Remove Trapped Polish From The Holes
In the case of brogue shoes, there’s one last step to ensure that the results are as perfect as possible. After the polishing and buffing – check the holes for any bits of wax that got trapped inside.
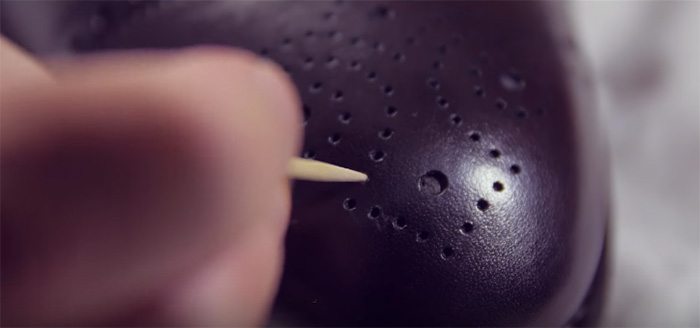
Use a toothpick to clean them out thoroughly. But of course, you need to do this gently and carefully. You don’t want to end up with any holes looking bigger than the rest.
Congratulations! In just the same amount of time as brushing your teeth – your shoes look good as new. They will make you feel more confident, professional and ready to impress.
Click here to watch the YouTube video – The 1-Minute Shoeshine
Click here to watch the video on YouTube – How To Shine Your Shoes In One Minute?
Click here if you want to see an in-depth tutorial on how to spit shine your shoes

